Navigating signature landing page
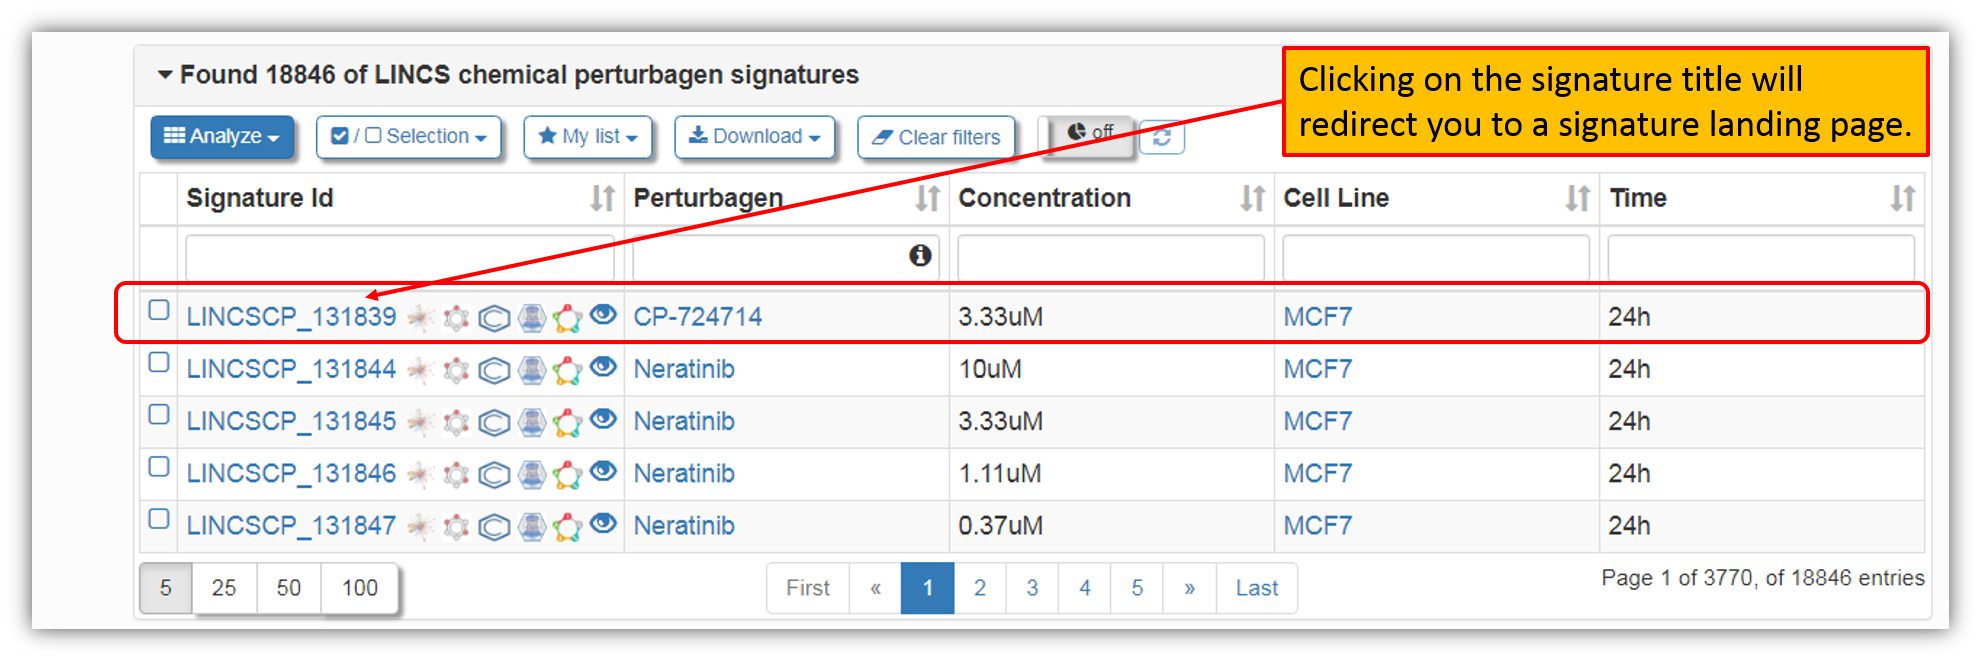
1. One may be interested to see all the metadata available for a particular precomputed signature. Let's say we would like to see more information for "LINCSCP_131839" signature. Let's click on the signature title as shown in the figure below.

2. As seen in the figure below, clicking on the signature title, opens up a new window containing a landing page for that particular signature. Similar signature landing page will also be displayed for the user-submitted signature.

3. The figure above shows the landing page for the signature LINCSCP_131839. Page layout contains the signature metadata and signature analysis tools for complete signature or the selected genes only (default is 100 genes), as well as the option to download the signature for the off-line analysis. On the bottom of the page, under the tab "Signature Analysis Tools" you are provided with LINCS and non-LINCS tools to further explore the signature data for the selected genes only (default is 100 genes that you may change by clicking "Modify the list of selected genes"). To view connected signatures or connected perturbations to the displayed signature, you may select the tabs "Connected Signatures" and "Connected Perturbations".
Under the "Signature Analysis" header on the left, you are provided with couple of signature options (each of these options is described in detail that you may view by selecting the appropriate headline on the left of this help tutorial).
"Modify the list of selected genes" allows you to modify the list of the selected genes (used for the signature analysis tools) within a signature by using different cutoff values (fold change and p-values). The default selection is 100 genes.
"Other analyses with selected genes" allows you to perform other analyses within iLINCS portal with the selected genes (default is 100 genes) from the signature. This step is similar to submitting a list of genes to iLINCS, except the list of genes is generated from within a displayed signature.
Keywords: tutorial |
 GR calculator
 GREIN
GREIN Signeta